January 28, 2015

Peanut Butter Banana Brownies


Who watched last week's Arrow? Show of hands.

I got a question to ask you. Is Tatsu secretly Miracle Max? Or maybe his protege or something? Because as Maseo was dragging Ollie's body through the snow to the lonely mountain cabin, the only thing going through my head was:
It just so happens that your friend here is only MOSTLY dead. There's a big difference between mostly dead and all dead. Mostly dead is still slightly alive.

 And let's face it, Ollie "died" almost the exact way that Sara did, except he was run through with a scimitar instead of a couple arrows, fell off a mountain instead of a building, and was beat up a whole bunch by Ra's al Ghul beforehand. So basically, the only way he could have survived (since it's been confirmed that he wasn't revived by the Lazarus pit), is if he was given one of Miracle Max's pills before he was all dead. Otherwise WHY DON'T I HAVE SARA BACK BECAUSE I LOVE SARA AND LAUREL IS A TERRIBLE CHOICE FOR THE BLACK CANARY. 

*ahem*

I hoped they remembered the chocolate coating to make it go down easier.
These brownies have absolutely nothing to do with Arrow, I just had to get that off of my chest. Of course, I'd totally share these brownies with the denizens of the Arrow cave. Especially my bff Felicity.

I've been working on a recipe for eggless brownies because I only had 4 eggs left, I had two recipes I wanted to make that used two eggs each, and I didn't want to do battle with all the snowmaggedon preppers stocking up on eggs, milk, and bread. And I totally succeeded. The brownies I came up with were fudgy, chocolatey, everything you've ever wanted in a brownie.

These are not those brownies. There are reasons I can't share those brownies with you yet, and they're really good reasons, but I can't tell you those either. (I feel like I'm in that scene from Legally Blonde. Oh she's got an alibi, and it's a really good one. What is it? I can't tell you.)

Luckily for you, I wanted to test the brownies in a larger pan, but was out of unsweetened applesauce (that I had used to replace the eggs), so I decided to mix it up a little bit, using mashed banana instead, and replacing the oil and some of the butter with peanut butter. So these are almost those brownies. Am I forgiven?
 These brownies are still dense and fudgy and chocolatey while adding the delicious flavor combination of peanut butter and banana. They're rich, unexpected, and soooo good. Plus, super simple to make. No chopping up and melting chocolate (always my least favorite part), these use cocoa powder instead. You do need to melt the butter and sugar together, which helps to give it that shiny, crackly crust in the absence of eggs, but if you don't care about the crust, you can always dump the sugar in with the dry ingredients, and melt the butter in the microwave. One bowl, one pan, one whisk, all you need to make these suckers

I'm going to watch Arrow tonight with a plate full of these guys and probably quote The Princess Bride every time Tatsu comes on screen. "Bye bye boys, have fun storming the castle!"
Peanut Butter Banana Brownies
Yield: About 20 brownies

Ingredients
1¼ cup flour
¾ cup unsweetened cocoa powder (I used 1/2 cup regular and 1/4 cup Hershey's Special Dark Cocoa Powder)
½ tsp. salt
¼ tsp. baking soda
¾ cup (1½ sticks) unsalted butter
1¼ cup sugar
cup mashed, ripe banana
½ cup creamy peanut butter
2 tbsp. milk
1 tsp. vanilla extract
1 cup semisweet chocolate chips

Directions
Preheat the oven to 350 degrees F. Line a 9x13 inch baking dish with foil and spray with nonstick cooking spray.

In a large mixing bowl, whisk together the flour, cocoa powder, salt and baking soda. In a small saucepan over low heat, melt the butter. Add the sugar and continue to heat, stirring constantly, until the sugar is dissolved. It will be thick and syrupy.

Add the butter mixture, mashed banana, peanut butter, milk, and vanilla extract to the flour mixture, and stir until smooth. Fold in the chocolate chips, then spread the batter evenly into the prepared pan.

Bake for about 30 minutes, until the brownies are set, and a toothpick inserted in the middle comes out clean. Let cool completely before cutting into squares. 

Tip: to keep the chocolate chips from melting into the batter, let it cool for 10-20 minutes before adding them. You can use this time to preheat the oven

Recipe by Kim
 
*Disclaimer: This post includes affiliate links*

January 25, 2015

Breakfast Burritos


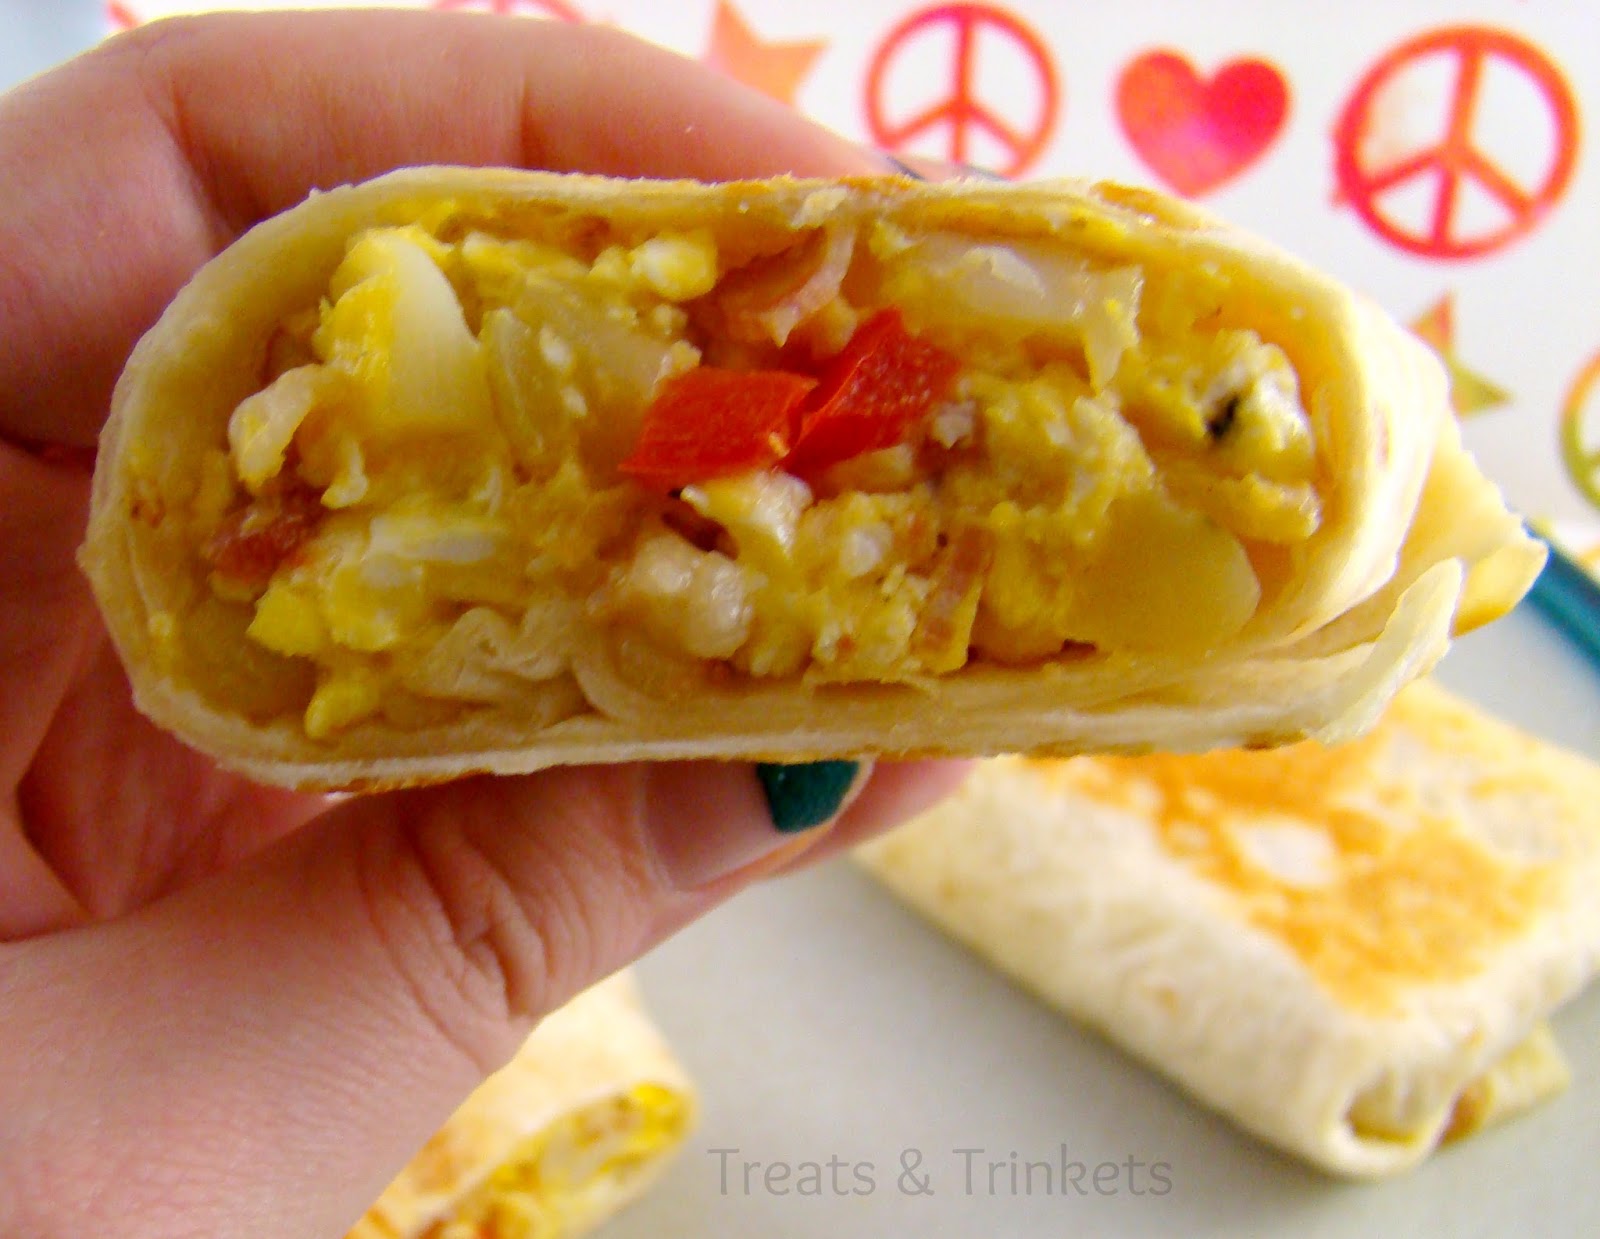
So, remember when I told you about my love of frozen foods? Well, that kind of goes double for breakfast foods. I love breakfast foods, but they always take way too much effort to make for breakfast, you know? I especially love those frozen breakfast burritos with the cheese and the potato and the sausage and the peppers, yuuuuuum.

I'm good though; I very rarely ever buy them because they're pricy and kind of terrible for you, especially the ones with cheese. Those are about 97% sodium.

I was looking through my refrigerator for something to make the other day, and saw scraps from a bunch of other meals. Half of a bell pepper, half of an onion, a package of bacon with only a couple slices left, a small hunk of white cheddar, a couple of potatoes. Then I remembered I had tortillas in the freezer and a new carton of eggs. I had all the fixin's for a breakfast burrito.
Now, these are much better for you than the frozen ones, but are they healthy? Probably not. You can always up the health factor buy skipping the bacon, upping the veggies, and going with egg whites and whole wheat tortillas. Me, I already like the unhealthy stuff, so slightly healthier than that works for me.

And this has got all the good stuff. Eggs and cheese and bacon and peppers and onions, oh my! Super delicious and super satisfying, and totally customizable. Make it with sausage or steak strips. Use your favorite shredded cheese. Add spinach or tomatoes or whatever your little heart desires. These puppies take a little longer to make than the frozen ones, but the effort is totally worth it. Especially when you have leftovers that you can just pop in the toaster oven when needed.
Breakfast Burritos
Yield: 4 burritos

Ingredients 
4 burrito style tortillas
3 strips of bacon, diced
1 medium potato chopped small
1/2 onion, diced
1/2 bell pepper, diced
salt and pepper, to taste
4 eggs, lightly beaten
1 cup shredded white cheddar cheese
1 tbsp olive oil

Directions
Place the tortillas on a microwave safe plate and heat for a few seconds in the microwave until soft.

In a large, non-stick skillet, cook the bacon over medium high heat until browned and crispy. Add the potato, onion, and bell pepper, season with salt and pepper, and cook, stirring occasionally, until the potatoes are fork tender. Add the eggs and cook, while stirring, until the eggs are cooked through. Stir in the cheddar and remove from heat.

Divide the filling equally between between the tortillas. Fold sides and ends of tortilla over filling and roll up. Add the olive oil to the skillet and heat on low. Add the burritos and toast on each side until golden brown. Serve hot.

Recipe by Kim

January 14, 2015

Microwave Popcorn without the Bag


Microwave popcorn that's cheaper, healthier, and greener than the prepackaged stuff. What's not to love? 

I love popcorn. I think it's a great snack food. I eat it a lot. My biggest problem with microwave popcorn though is that it's always way too salty. And its weird to me that there's not a single brand out there thinks, hey, we should do low sodium popcorn. Even the "healthy" brands are super salty, and what's healthy about that? The Shop Rite store brand has a salt-free butter flavor, and it's the only one I've ever seen.

So, I finally bit the bullet and bought plain popcorn kernels. I knew that you can make microwave popcorn in a paper lunch bag, except I didn't see them in the grocery store. No worries, there had to be instructions on the back of the bag. Well, there were. And they sounded hard (plus, lots of oil involved).

I took to the Internet to see if I could find an easy way to make popcorn that didn't involve paper bags, and I did.
Things you will need:
  • A large, microwave safe bowl
  • A microwave save plate that fits on top of the bowl
  • 1/3 cup plain popcorn kernels
 Measure out your popcorn kernels

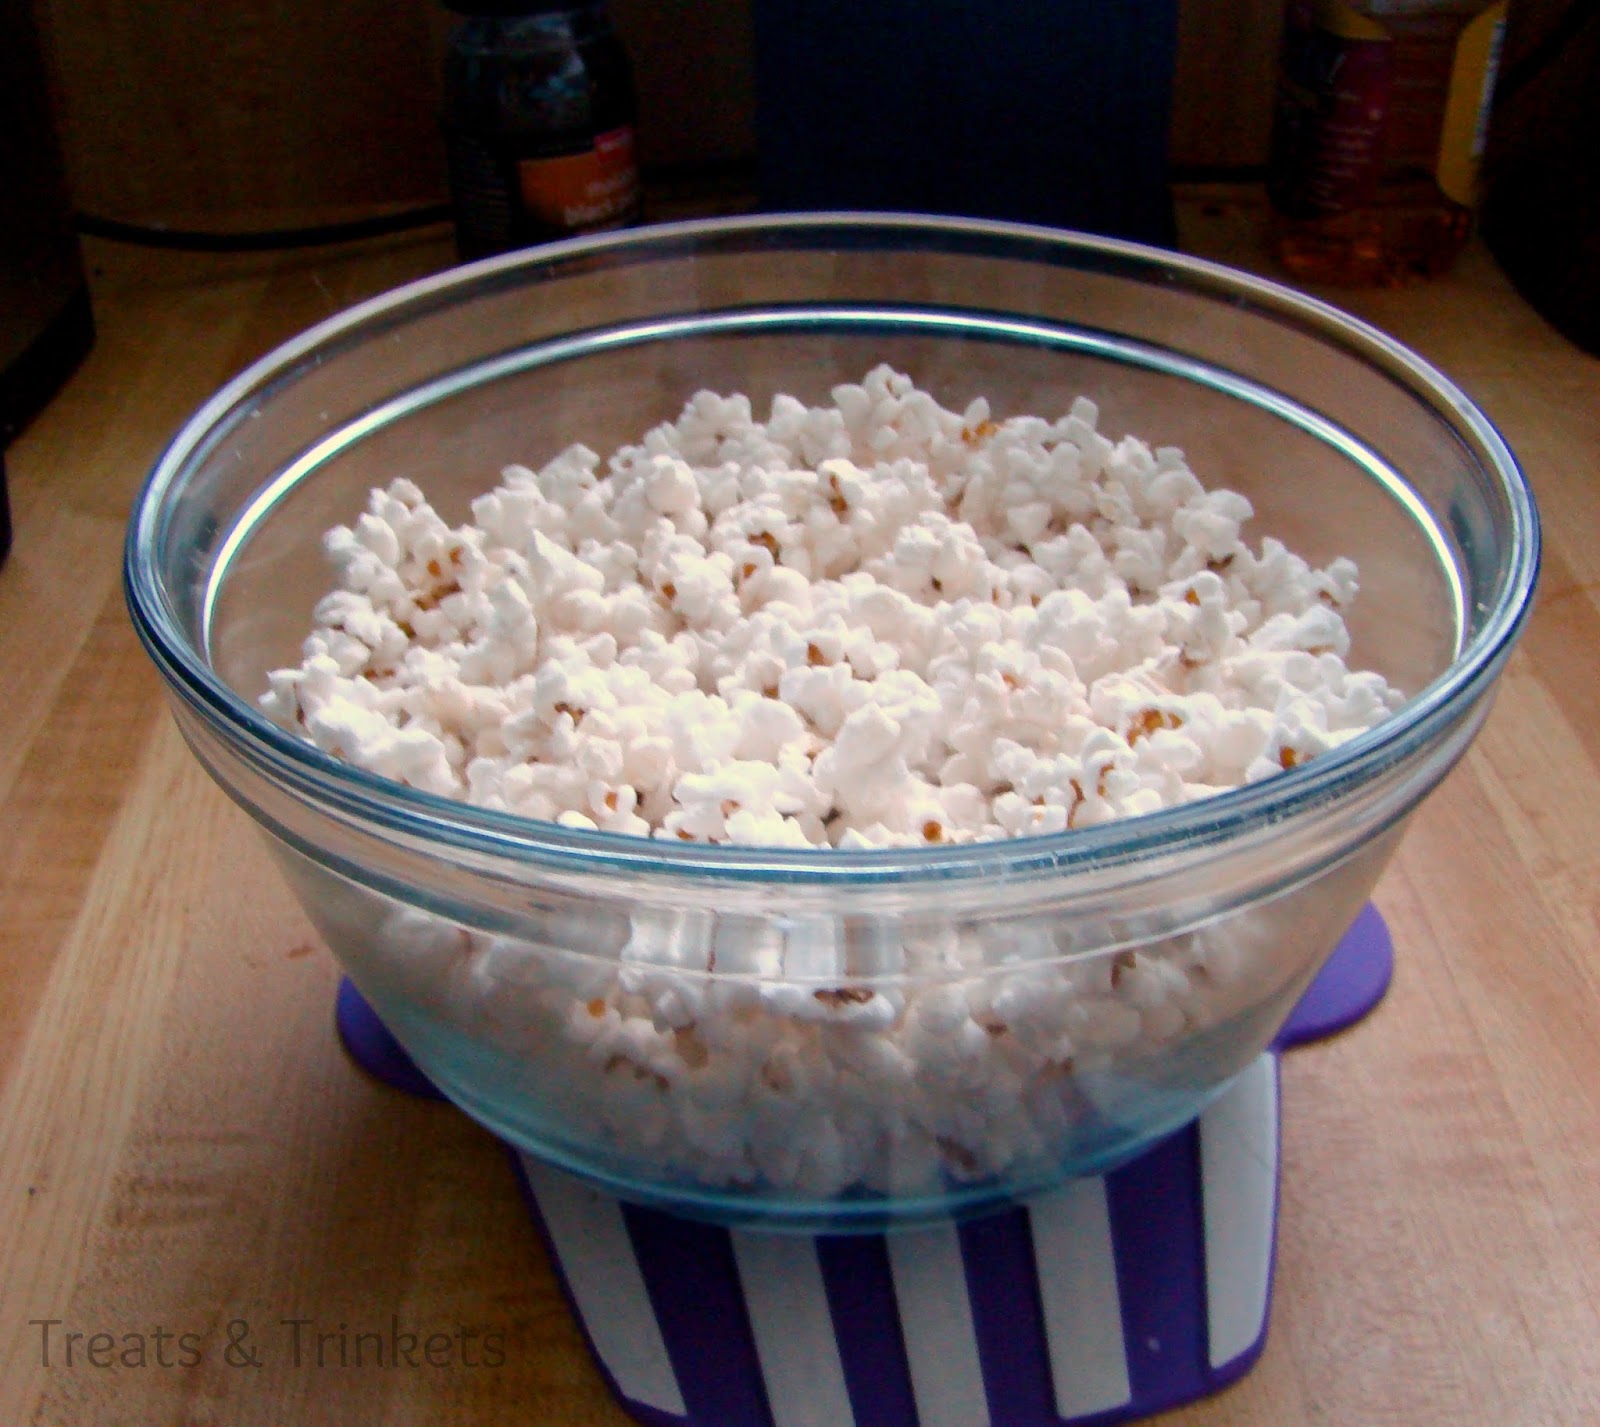
 Pour them into the glass bowl and cover with the microwave safe plate. Note: you don't want the cover to be air tight, so I wouldn't recommend using any cover that might have come with the bowl. If you don't have a plate the right size, you can use parchment paper held in place with a rubber band.
Put it in the microwave for about 5 minutes on high. Now this time will differ between microwaves and popcorn brands. Make sure to listen while the popcorn is popping and take it out when the popping slows to a few seconds between pops. A little over 5 minutes works for me, but my microwave isn't very high powered. You might need more or less time.
Using pot holders because the bowl will be very hot, take it out of the microwave and remove the plate immediately (if you leave the plate on, the trapped steam will condense as it cools and make the popcorn soggy). Season as desired (I like a little drizzle of olive oil with some cracked black pepper and sea salt) and serve.

If you want butter, just mix a little melted butter in with the kernels before putting it in the microwave.
That's all there is to it. No bags to throw away, just a reusable bowl and plate that barely get dirty. Cheap and easy and environmentally friendly, and as healthy as you want it to be. Seriously, no downsides. Except you might find yourself eating way too much popcorn. *innocent whistling*
Technique adapted from The Yummy Life and Cherryvale Farms

January 11, 2015

Peppermint Hot Cocoa Snowflake Brownies


These brownies make me angry. (That's my secret Cap; I'm always angry. ilu Bruce Banner)

It's not the flavor. They taste really good. It's not the texture-- they're not quite as fudgy in the middle as I would like, but fudgy enough to satisfy me.

What gets me about these brownies is that they're such a tease. Roll back to Christmas Eve. I was making cookie cups to give as presents, but I needed something else. Then I remembered I had this silicone snowflake pan from forever ago. I'd make snowflake cupcakes and add them to the presents!

Except the recipe I used was too light and fluffy and the cakes fell apart when I tried to take them out of the pan. No problem, I was planning on making these brownies to serve for dessert anyway, so I'd just switch up my plans. I baked the rest of the cake batter in a regular pan and whipped up the brownie batter.

I decided to do a test brownie so I wouldn't waste too much batter if they didn't come out. That sucker came out abso-frickin-lutely perfectly.

By that time, I was running late, and I had promised my mother I'd make her green bean salad since she had to work, so I covered the bowl of batter, grabbed the silicone pan and went to my parents' house to finish up there.

Except the next batch I pulled out of the oven fell apart when I tried to take it out of the pan. I ran back home, grabbed the ingredients to make more, and made a second batch. This one I baked for a few minutes longer, and let cool for as long as I could, and they still fell apart. I didn't have time to try again, and ended up feeling a bit miserly as everyone only got three pieces of fudge and two cookie cups for presents.

If the tester hadn't come out so perfectly, this wouldn't upset me as much as it did
You make me so angry, you perfect little snowflake

I figured the key for the brownies to come out of the pan properly was to add those extra few minutes to the baking time, and to chill them before trying to take them out of the pan (the second batch, while I'd let it cool for half an hour, I still felt some residual heat, and the tester was left neglected while I did other stuff, so it was cooling for probably over an hour.)

Once again, I went to make the brownies, armed with the knowledge earned from those past defeats, and... I accidentally mixed up my 1/3 cup measure with my 1/4 cup measure and added too much flour. I forged ahead anyway, figuring that this would make them denser and less fudgy, but that could only help me at this point.

When I finally popped them out of the pan, I was ready to rejoice, as they didn't break coming out, but I looked at them, and I don't know if I used too much cooking spray, or if it was because the batter was too thick, but there were air bubbles in the surface so you could barely see the pan's design. At that point I decided I was completely done with these brownies, so I just dusted them with sugar and covered them with sprinkles and took photos.
If you decide to be a normal person and make them in a pan, these brownies are delicious. Like I said, they're not quite fudgy enough for me, but they're a good compromise for people who like fudgy brownies and people who like cakey brownies. My family was very happy that the brownies didn't come out, since they got what my brother dubbed the sad brownie mountain (I just threw all of the broken pieces onto a plate, and they piled up) and they completely demolished it. I left all the brownies with them, since I couldn't bear to look at them.

These are basically the same as my Chocolate Pudding Brownies, except I used dark chocolate hot cocoa mix instead of instant fudge powder, and I added peppermint extract and Andes Peppermint Crunch Baking Chips. You can't go wrong with chocolate and peppermint, and I love those peppermint baking chips because they still give a little crunch, but don't stick to your teeth like crushed candy canes do. Of course, any peppermint candy would do if you don't have the baking chips. You could even stir in some mini York Peppermint Patties.

In summation, don't use a snowflake pan. And also make these brownies.
Peppermint Hot Cocoa Snowflake Brownies
Yield: 12 brownies

Ingredients

2/3 cup sugar
9 tbsp. quality dark chocolate hot cocoa mix
½ cup flour
½ tsp. salt
2 eggs
½ cup melted butter
¼ cup milk or cream
1 tsp. vanilla extract
½ tsp. peppermint extract
½ cup semisweet chocolate chips
½ cup peppermint baking chips
Powdered sugar

Directions
Preheat the oven to 350°F. Line an 8 or 9 inch square pan with foil, and lightly spray with nonstick
cooking spray. In a large bowl, whisk together the sugar, hot cocoa mix, flour, and salt. Mix in eggs, butter, milk, vanilla, and peppermint extract, and stir until smooth. Fold in the chocolate chips and peppermint chips. Spread evenly into the prepared pan and bake for 25 minutes, or until the edges pull away from the pan. Cool and dust with powdered sugar.

If making in a silicone snowflake pan: Generously grease each cavity with nonstick cooking spray. Add 1/4 cup of batter to each cavity. Bake for 30 minutes. Let cool completely, then chill in the refrigerator up to 30 minutes. Remove from pan and let come to room temperature before serving. Makes 9 snowflake brownies.

Note: the silicone pan I use was roughly comparable to a jumbo cupcake tin. If using a smaller pan, use less batter and reduce the baking time.

Recipe adapted from my middle school Home Ec class (original source unknown)
*Disclaimer: This post includes affiliate links*

January 7, 2015

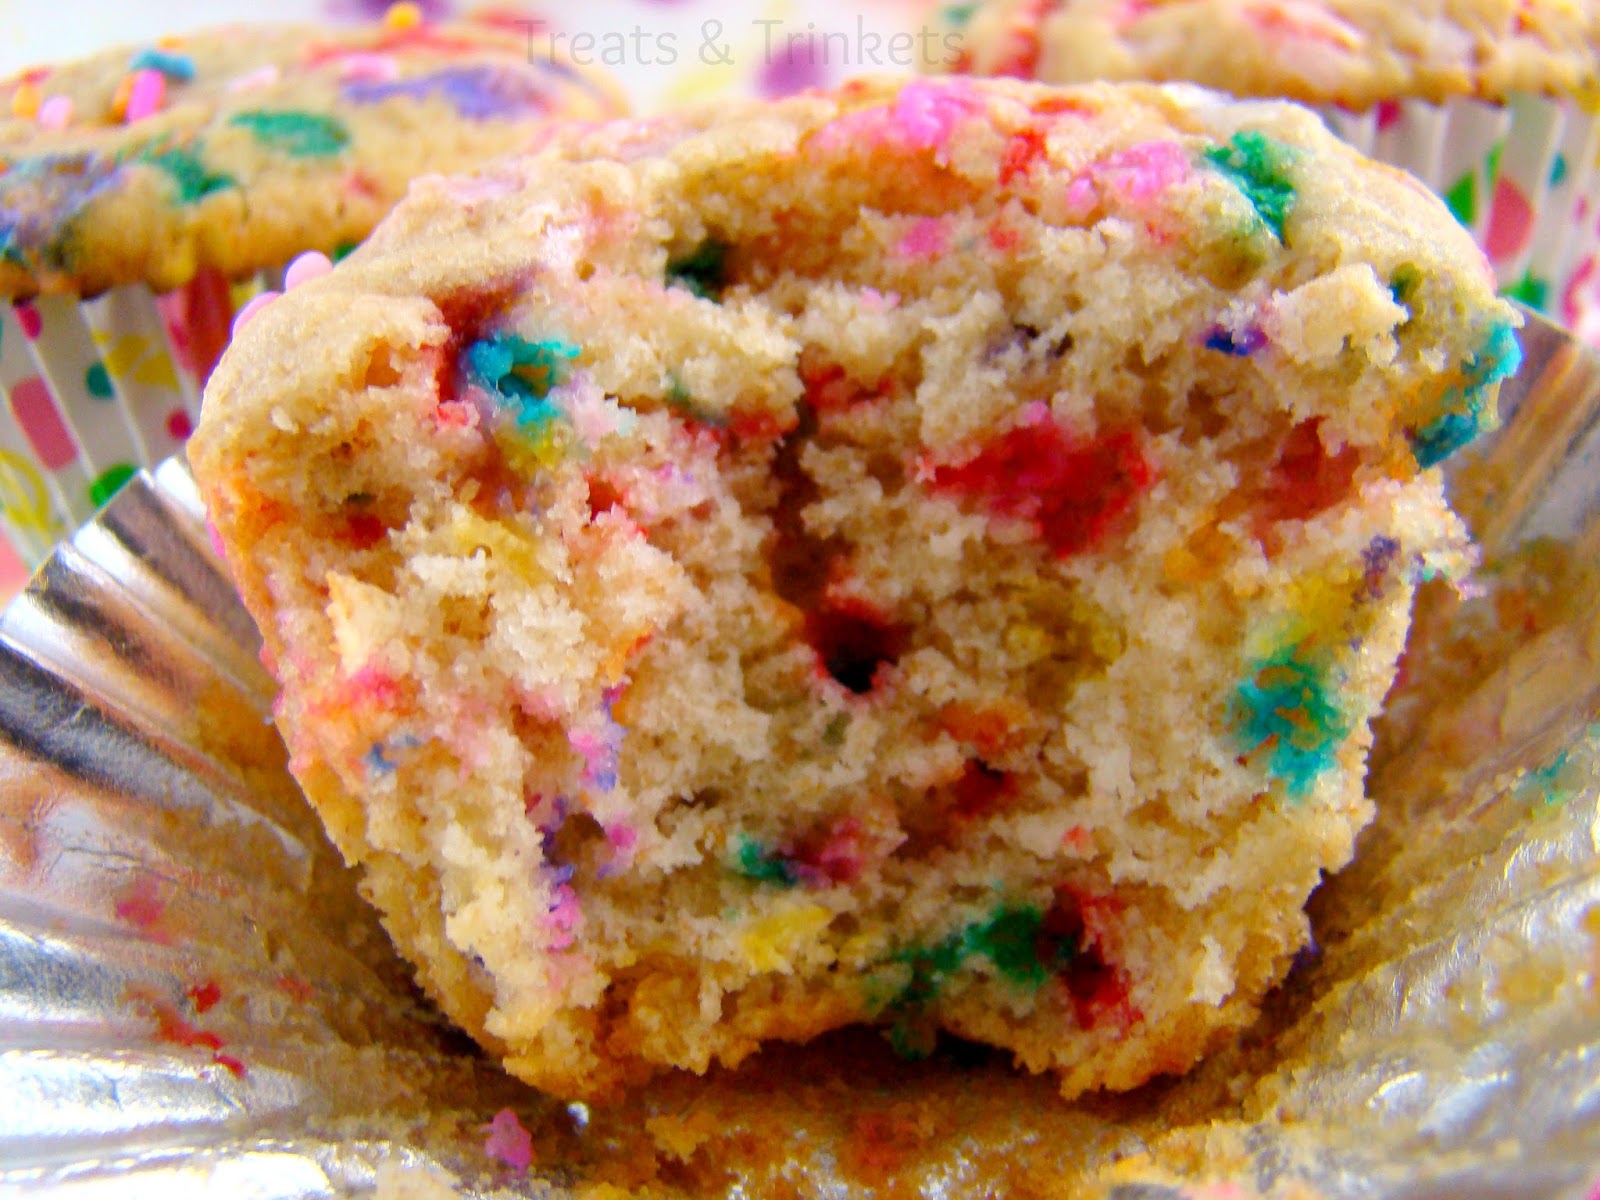
Cake Batter Muffins


Once upon a time, there was a food blogger who had been invited to a friend's house for brunch. The food blogger didn't want to show up to the brunch empty handed, as she was kinda-sorta a semi-professional amateur of baked goods. But the food blogger happened to not be in much of a mood to bake (or have much in her pantry to bake with). Something simple would be ideal, something easy that didn't take much effort.

The food blogger spotted a jar of Homemade Yellow Cake Mix she had used the week earlier to make Cake Batter Truffles. What could be easier? She'd make cupcakes!

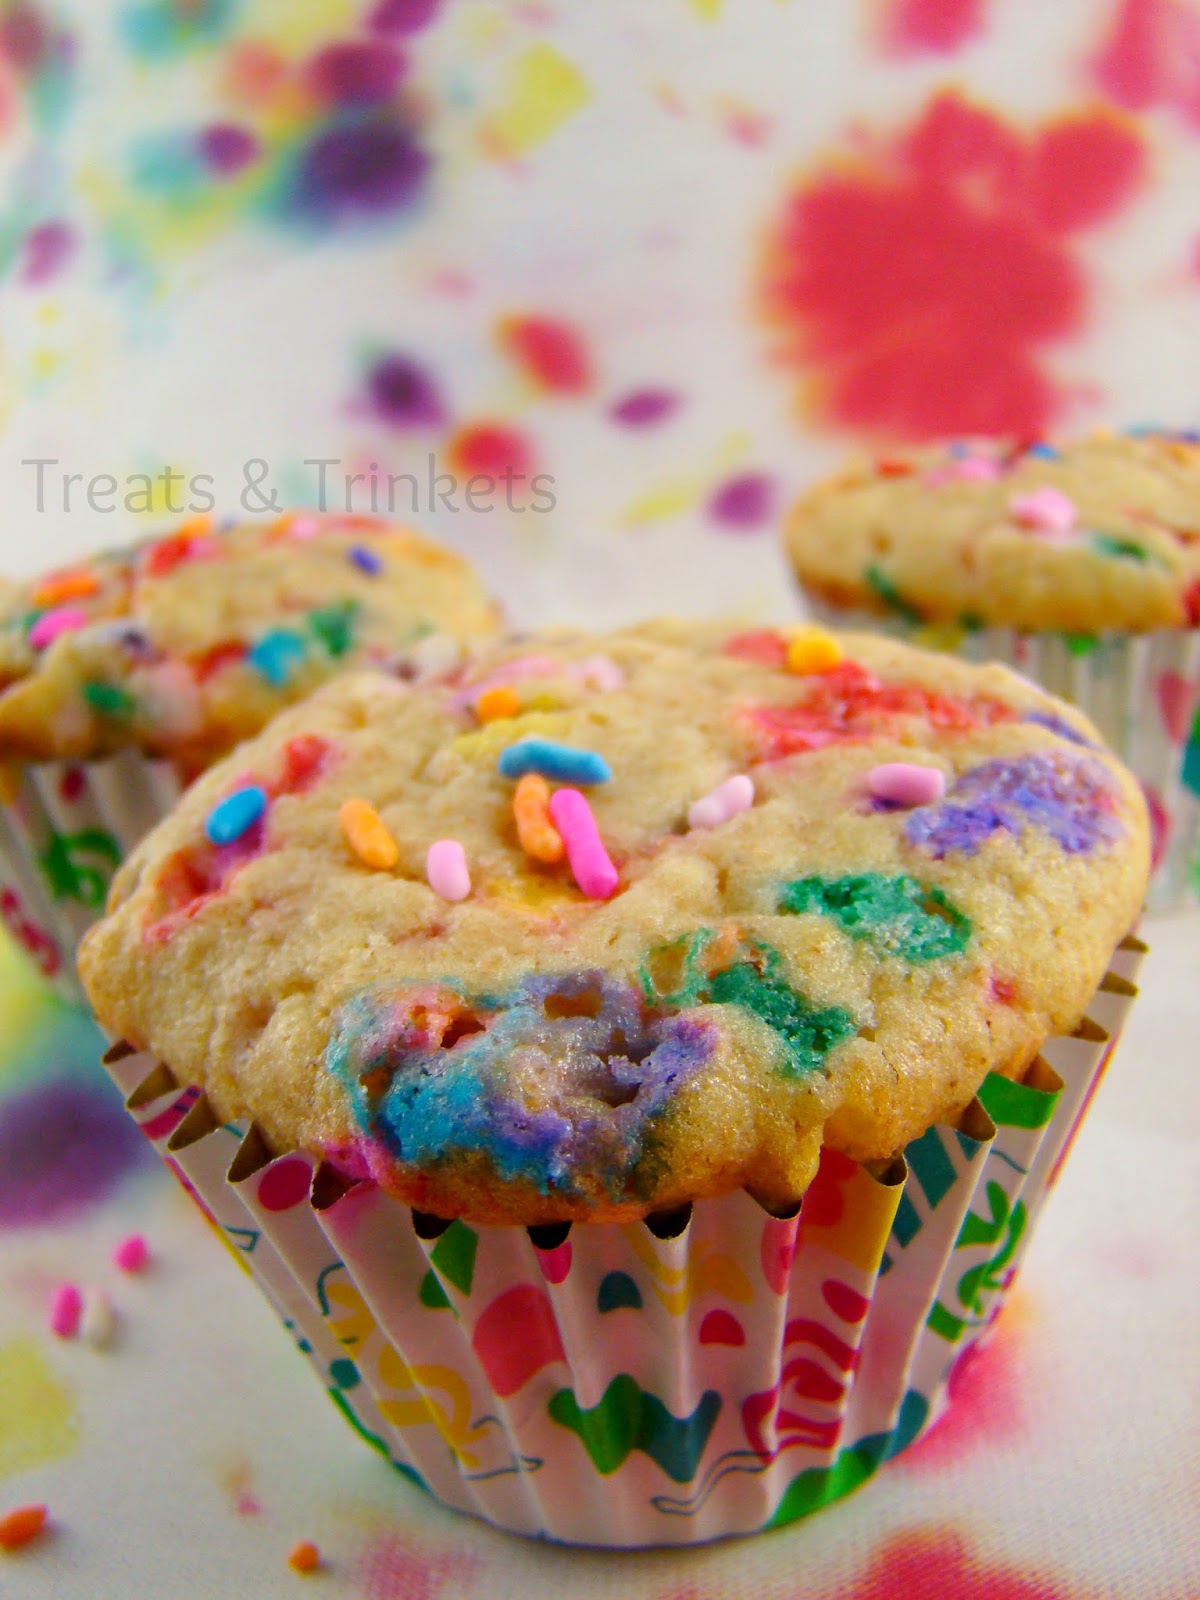
But, the food blogger realized, a cup of the mix was missing for the truffles, and that would throw off the measurements. Plus, she really didn't feel like making frosting. Luckily, this food blogger lived in the era of "cake batter ALL the things" and knew that cake mix could be used for more than just cake. She decided to use the leftover mix as a muffin base instead. She replaced the missing mix with whole wheat flour. She was low on eggs, so she replaced 2 of them with unsweetened applesauce. She became worried that the whole wheat flour and applesauce would make the muffins too dense, so she used buttermilk instead of regular milk. Then she added sprinkles, just for funsies.

These last minute muffins turned out so good that the food blogger resolved to put them on her food blog, but had no time to take photographs of them. It wasn't until many moons later that the food blogger remembered the muffins and whipped them up again, and they were just as good as remembered.
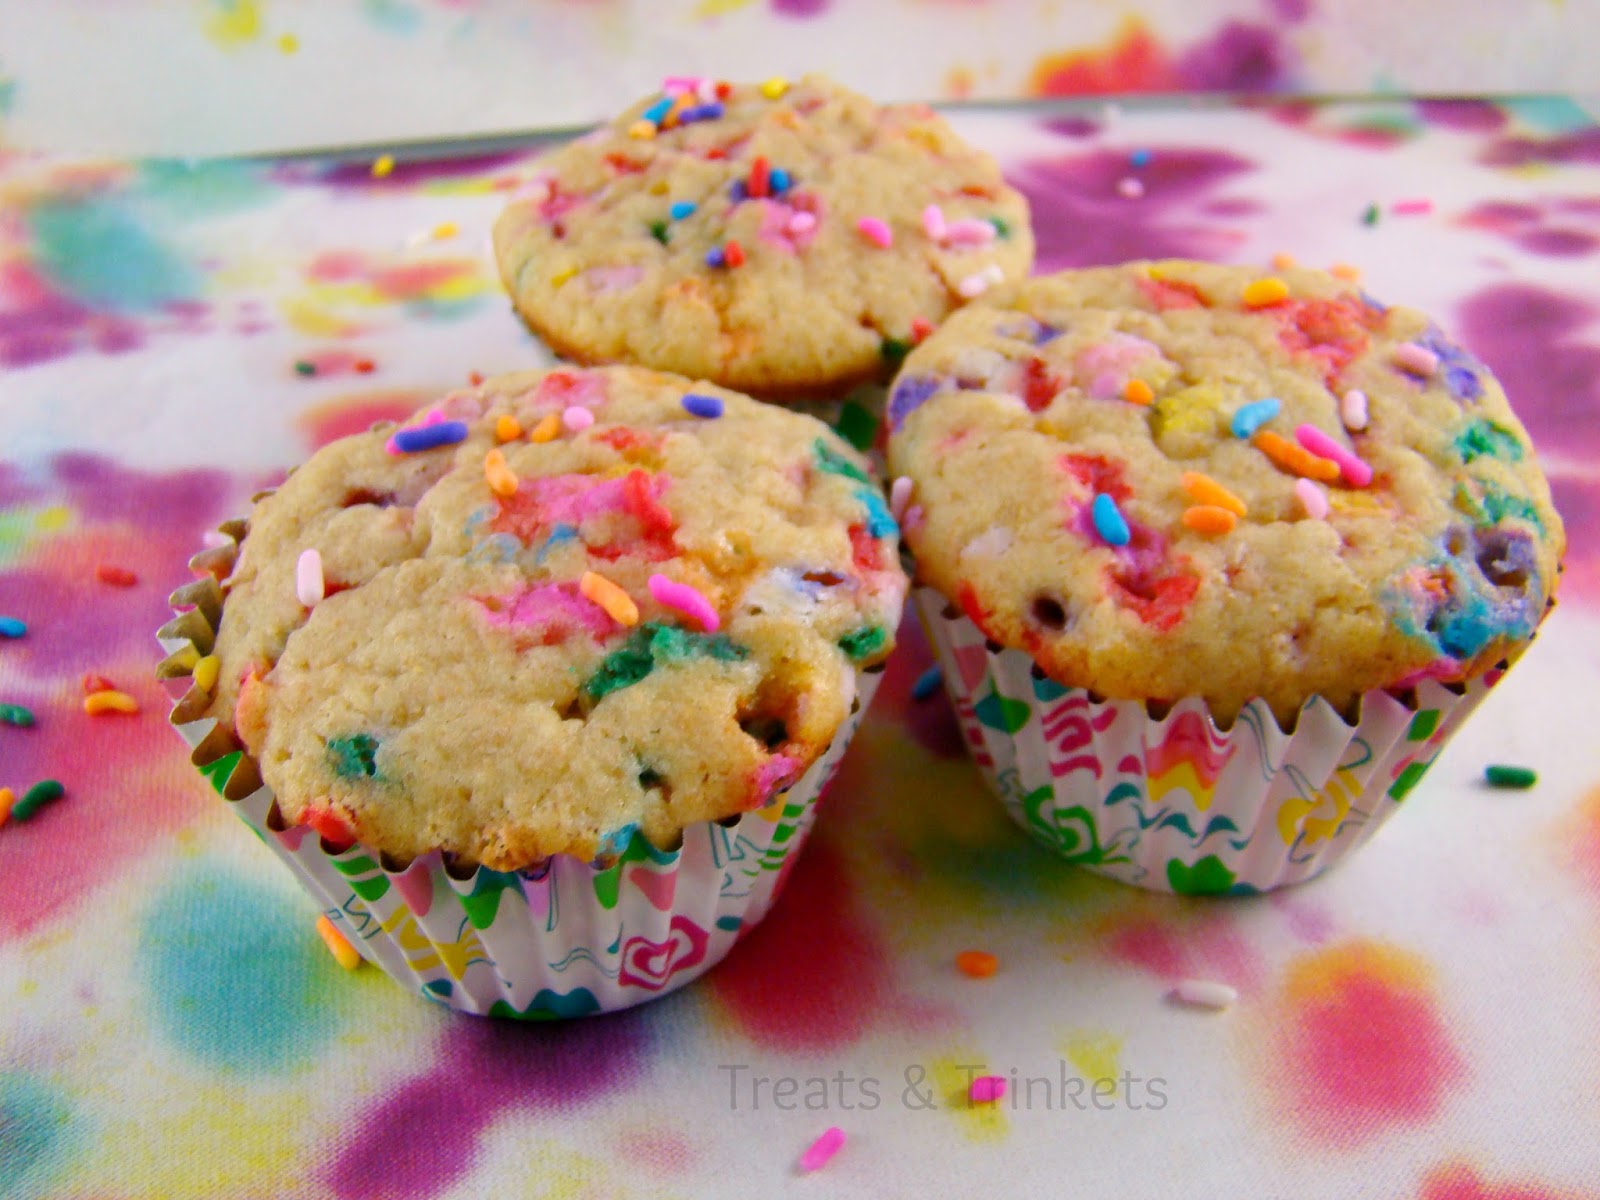
Okay, fairy tales aside, these muffins are in no way, shape, or form healthy. It's pretty much still cake. I tried to healthify them a bit with the whole wheat flour and unsweetened applesauce, and some of the sugar and fat goes away when you remove that cup of mix, but it's not enough to tick the healthy column. These are not New Year's resolution muffins; these are a way to eat cake for breakfast muffins.

Not that I have a problem with cake for breakfast, I'm just putting that out there.

And these are definitely more like cake than muffins. They are soft and moist, but the whole wheat flour gives them a subtle heartiness. They are denser than cake, but not too dense, and they have that great cake batter flavor which is what makes them so darn special.

Plus, they are so dang easy to make. Even making the mix, it took me maybe ten minutes of prep time. If you have the mix premade, it would take no time at all to get to the oven. Easy clean up too, with only one bowl and one whisk to put everything together.

Now, this recipe only works with my homemade yellow cake mix. I don't know how it would translate with a box mix, or another yellow cake mix recipe. My best guess would be to replace the oil with applesauce, the water with buttermilk, and a cup of the mix with whole wheat flour. But again, I haven't tried it, so you shouldn't take that as gospel. (If you try it, let me know!)
Cake Batter Muffins
Yield: 18 muffins

Ingredients
Homemade Yellow Cake Mix (minus 1 cup of mix)
1 cup whole wheat flour
3/4 cup buttermilk
1/2 cup unsweetened applesauce
1 egg
1 tsp. vanilla extract
1/2 tsp. almond extract 
1/2 cup rainbow sprinkles

Directions
Preheat the oven to 375 degrees F. In a large mixing bowl, whisk together the cake mix and whole wheat flour. Mix in the wet ingredients until smooth (some lumps are fine). Fold in the sprinkles.

Line a cupcake tin with paper liners and fill 3/4 of the way with batter. Bake 17-20 minutes, until a toothpick inserted in the center comes out clean. Allow to cool before serving.

Note: you can use the leftover mix to make cake batter truffles

Recipe by Kim

January 4, 2015

Buffalo Chicken Twice Baked Potatoes


Happy 2015! How were your holidays? I got sick just in time for Santa to arrive. I wasn't feeling especially great when I was leaving my uncle's house on Christmas Eve, but I figured I ate too much. When I got home, it was a different story, and after I was, erm, finished, I looked at the clock and saw that it was just after midnight. My only thought was, "Gee, thanks, Santa!"

I'm still not sure what that was all about. It wasn't a stomach virus, nobody else got sick, so it couldn't have been food poisoning. Maybe since I didn't put up a stocking, that was Santa's creative alternative to coal?

It wasn't all bad, though. I did get a slow cooker and a rice cooker (I have this block against cooking rice. I can make a risotto, but I can't make rice. Does this make sense to anyone?), so basically I have a ton of appliances that help me avoid using my stove. Yay!

The parentals also bought me a new TV, since all I had was my little 17 inch one, which served me fine in the past, but since my living room is actually pretty big, it looked kind of sad and tiny (also, the sound was starting to go wonky, and it didn't have an HDMI port for my blu-ray player. It was time). It's a smart tv, so I've been fascinated by the fact that I can watch Netflix on something other than my Kindle. It's the little things in life.
Anywhozzle, I've totally had this potato craving lately, which made me realize: I don't think I've ever made a potato dish. Like, ever. I mean, I've made baked potatoes (mostly in the microwave, because I'm usually just making one for me), and I've put potatoes in soups and things and on my Italian Hot Dogs, but just potatoes? Nope.

Well, thinking about it now, I have made potato salad and roasted potatoes, and I made a potato nacho thinger where I sliced up a potato and pan fried it and smothered it with cheese and bacon and baked it. But I had to really think about it, so they totally don't count.

And that's totally crazysauce because I love potatoes. I love all things potato. Potato chips and french fries and mashed potatoes and potato croquettes and potato salad and my Aunt Sophie's potato pie. Potatoes are awesome.

So one night, I was making a baked potato in the microwave for dinner, like you do, and I suddenly decided I was going to put buffalo sauce on it instead of butter, and it was like a revelation. I was in love with the combination of potato and buffalo sauce, so the idea stuck me: what about buffalo chicken twice baked potatoes?
Now, I'd never actually had twice baked potatoes, but I liked the idea of them. You take baked potatoes, scoop out the insides, mash them up and mix them with yummy good stuff like sour cream and cheese, put it back in the potato skins and bake it back up until the cheese is all melty-gooey. What's not to like? I figure I'd just add some hot sauce, some diced red onions, peppers, and celery, a little cilantro and chives, top with some chicken, et voila, buffalo chicken twice baked potatoes.

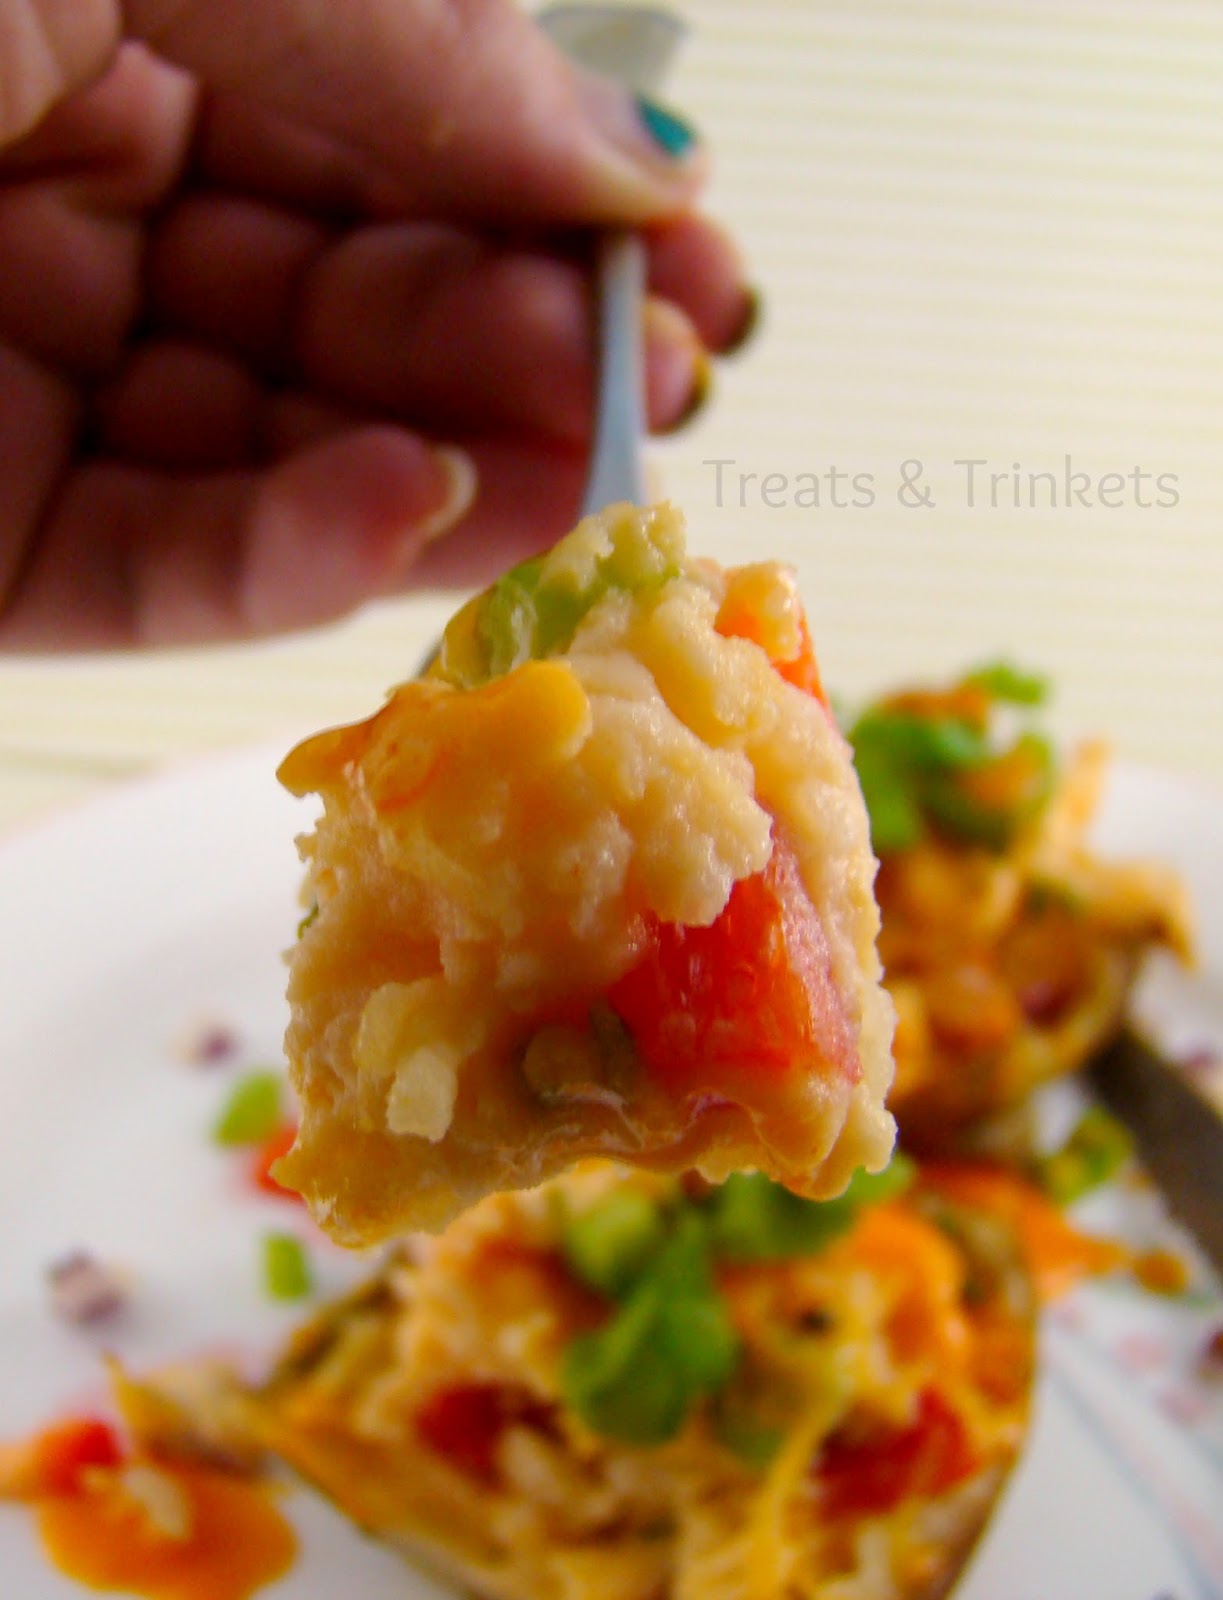
And you guys, it's like baked potatoes meet mashed potatoes meet potato salad meet buffalo wings. It's epic. And while it sounds fussy and hard, it's really not. It takes a while, but that's mostly because the potatoes take a while for the first baking. I really like that I can do all the prep while the potatoes are in the oven. You'd have to wait anyway, so it gives you something to do while waiting. Since I hate waiting, that's a plus.

You could totally make these ahead, just follow the steps up until the second baking, cover and put in the fridge. When you're ready to serve, just pop them back in the oven for the second baking. The skins won't be as crisp, but it will still be yummy.
I love that these are super versatile too. Serve one potato half as an appetizer, or two potato halves as a meal. You can eat them with a knife and fork or pick them up with your fingers. You could even skip the chicken if you want, or use premade chicken strips from the grocery store. My original intention was to make shredded chicken and mix it in with the potatoes, but I make a lot of shredded chicken and wanted to try something different. That's always an option if you want a less saucy and messy finger food. You could totally just eat the filling and not put it back in the potato skins, which I had to stop myself from doing.
Twice baked potatoes. You need them in your life.

Buffalo Chicken Twice Baked Potatoes
Yield: 8 potato halves

Ingredients
4 large russet potatoes, scrubbed and dried*
olive oil
salt (optional)
1 chicken breast, cut into strips
1 tbsp ranch seasoning (I used this mix, minus the dill)
2 tbsp. prepared buffalo sauce**
1/3 cup sour cream
2-4 tbsp. hot sauce
1 tbsp. butter
1 tbsp. chopped fresh cilantro
1 tbsp. chopped fresh chives
1/2 red bell pepper, diced
1/2 small red onion, diced
2 ribs celery, diced
About 2 cups shredded cheddar cheese.

Directions
Preheat the oven to 400 degrees F. Line a rimmed baking sheet with aluminum foil. Prick the potatoes a few times on all sides with a fork. Rub with olive oil and sprinkle with salt, if using. Bake for 45-60 minutes, until the potatoes are fork tender.

While the potatoes are cooking, heat about 1 tbsp. of olive oil in a large skillet over medium high heat. Add the chicken and ranch seasoning. Cook, stirring occasionally, until the chicken is almost cooked through. Add the buffalo sauce, and continue to cook until the chicken is done. Set aside.

When the potatoes are done, use a sharp knife to cut them into halves, being careful not to tear the skin. (use a clean dish towel to hold the potatoes, since they will be very hot) Use a spoon to scoop out the inside into a bowl, leaving about a quarter inch in the skin to keep its shape. Use a handheld potato masher to mash the potatoes. Mix in the sour cream, butter, and your desired amount of hot sauce. Mix in the diced vegetables.

Divide the filling equally between the empty potato skins. Sprinkle liberally with shredded cheddar, and bake about 5 minutes, until the cheese is melted and bubbly. Top with the cooked chicken in buffalo sauce, drizzle more buffalo sauce on top, if desired, and serve immediately.

Note: If you prefer softer veggies, you can saute them with the chicken

*My potatoes were kind of on the small side, so I used the 4 biggest I had plus one small one
**You can make your own buffalo sauce using 2 parts hot sauce to 1 part melted butter

Recipe by Kim