


Guess what guys? New York Comic Con is less than a month away. Like, whoa, where did the summer go? Like I've mentioned before, I've been in full cosplay mode, putting everything together.
Now, I'm not one of those crazy-awesome people who have the full-size, screen accurate cosplays with the moving parts and the blinking lights and the metal working and the sewing. I wish I was, but I don't nearly have the skillset to pull that kind of thing off. I tend to go more casual: a military-style bolero jacket and a pettiskirt with brass accents for a basic steampunk outfit; a blonde wig, squid hat, and a Knights of Good t-shirt for a Clara costume. A modded top hat and a blue dress for Time And Relative Dimension In Space cosplay. Basic, easy, and immediately recognizable.
My original intention was to make a small fascinator or one of my tiny top hats in TARDIS blue for this costume, but when I was putting all the pieces together in Polyvore to see how they worked together, I fell in love with a blue fedora. But it was from the UK, and even if they did ship to the US, I wasn't willing to pay international shipping fees. In it's place, I was able to find the perfect blue top hat on Amazon for only about $7.
And since this is easy-mode crafting, I figured I'd share how to make it yourself. Halloween is coming up, after all.

I had a lot of trouble finding plain white letters in two sizes and matching font. I originally wanted iron-on letters, but I couldn't find what I needed. I didn't want to paint them on myself since I don't have the steadiest hand, and I have the penmanship of a 5-year-old. So while I would have preferred a sans-serif font, I couldn't afford to be that picky.


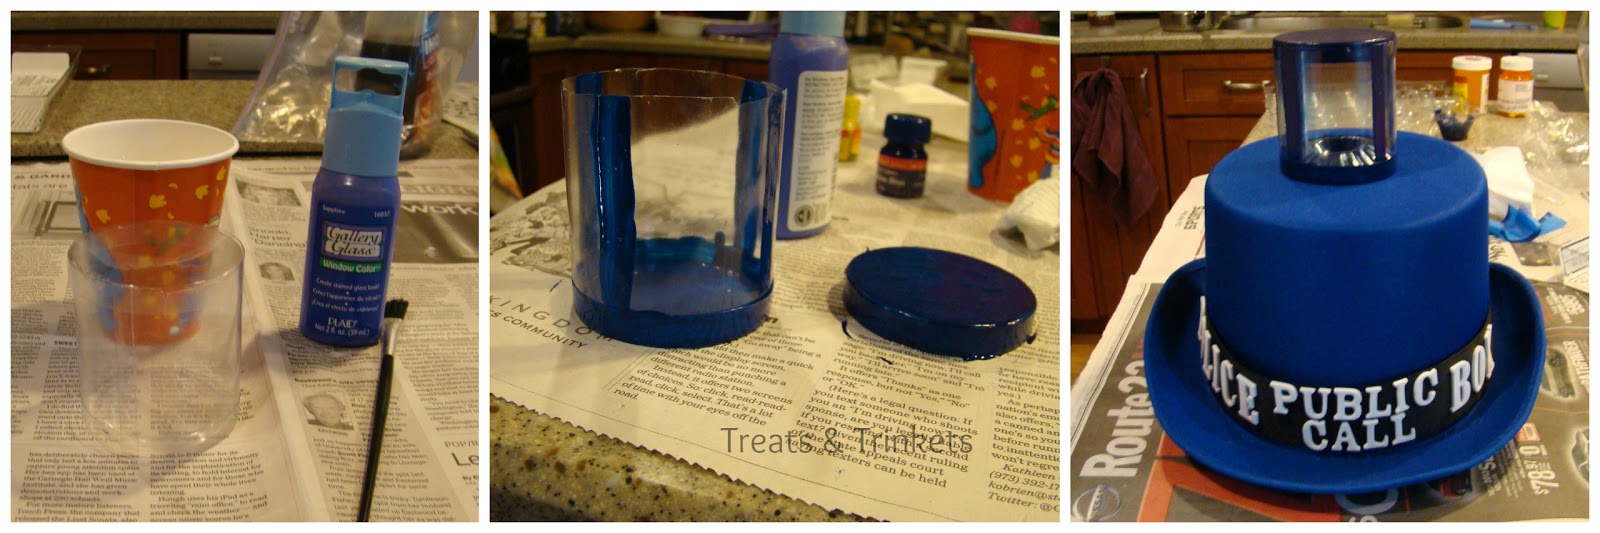
The light itself is a self-contained LED that I found in the floral arrangement section of Michaels, in the aisle with the Styrofoam and marbles for the vases. It comes in different colors too.

And because I know you want it: obligatory awkward selfie in the bathroom mirror.
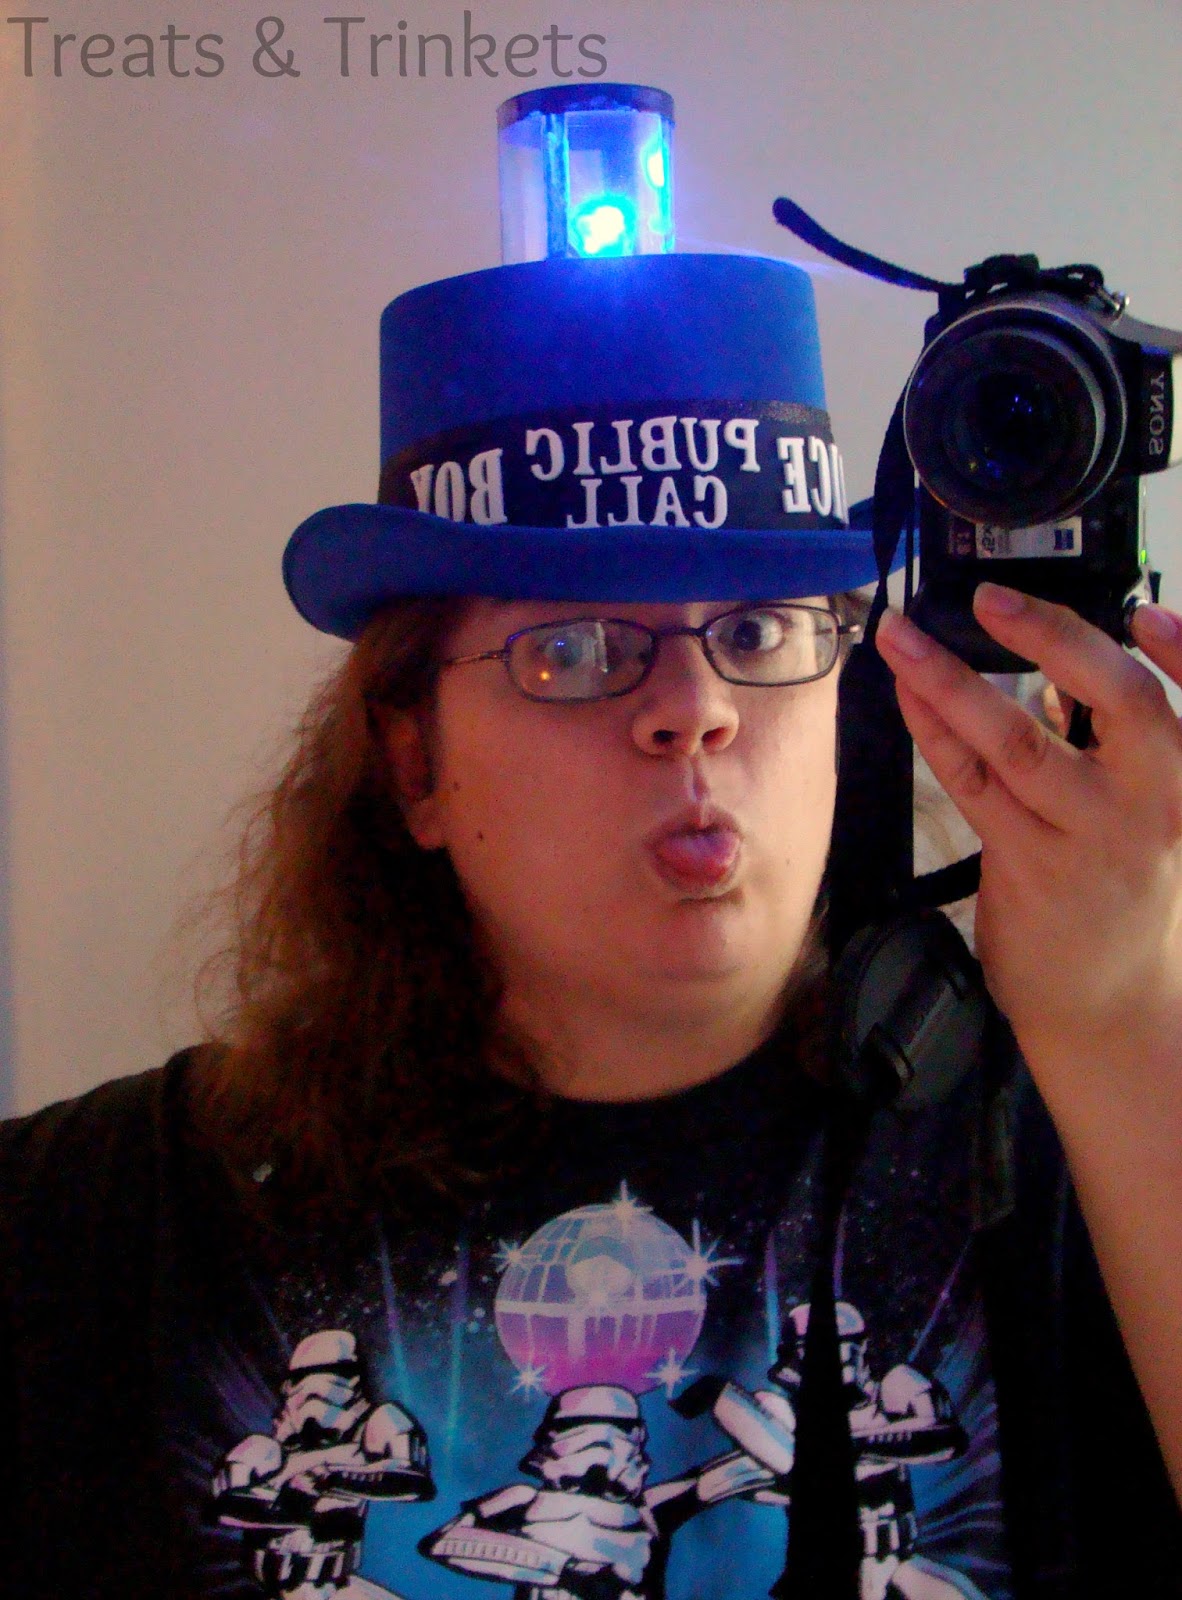 |
| I stick my tongue out at you, sir! |
*Disclaimer: This post includes affiliate links*